My new cheap Chinese 3d Printer I got from Aliexpress for about $300 aud

Here I'm making some upgrades repairs to the printer.
It turned out I couldn't reach the required temperatures needed to print so I
adjusted the small trim-pot on the power supply and managed to get the
printer so it would print pla but not abs.
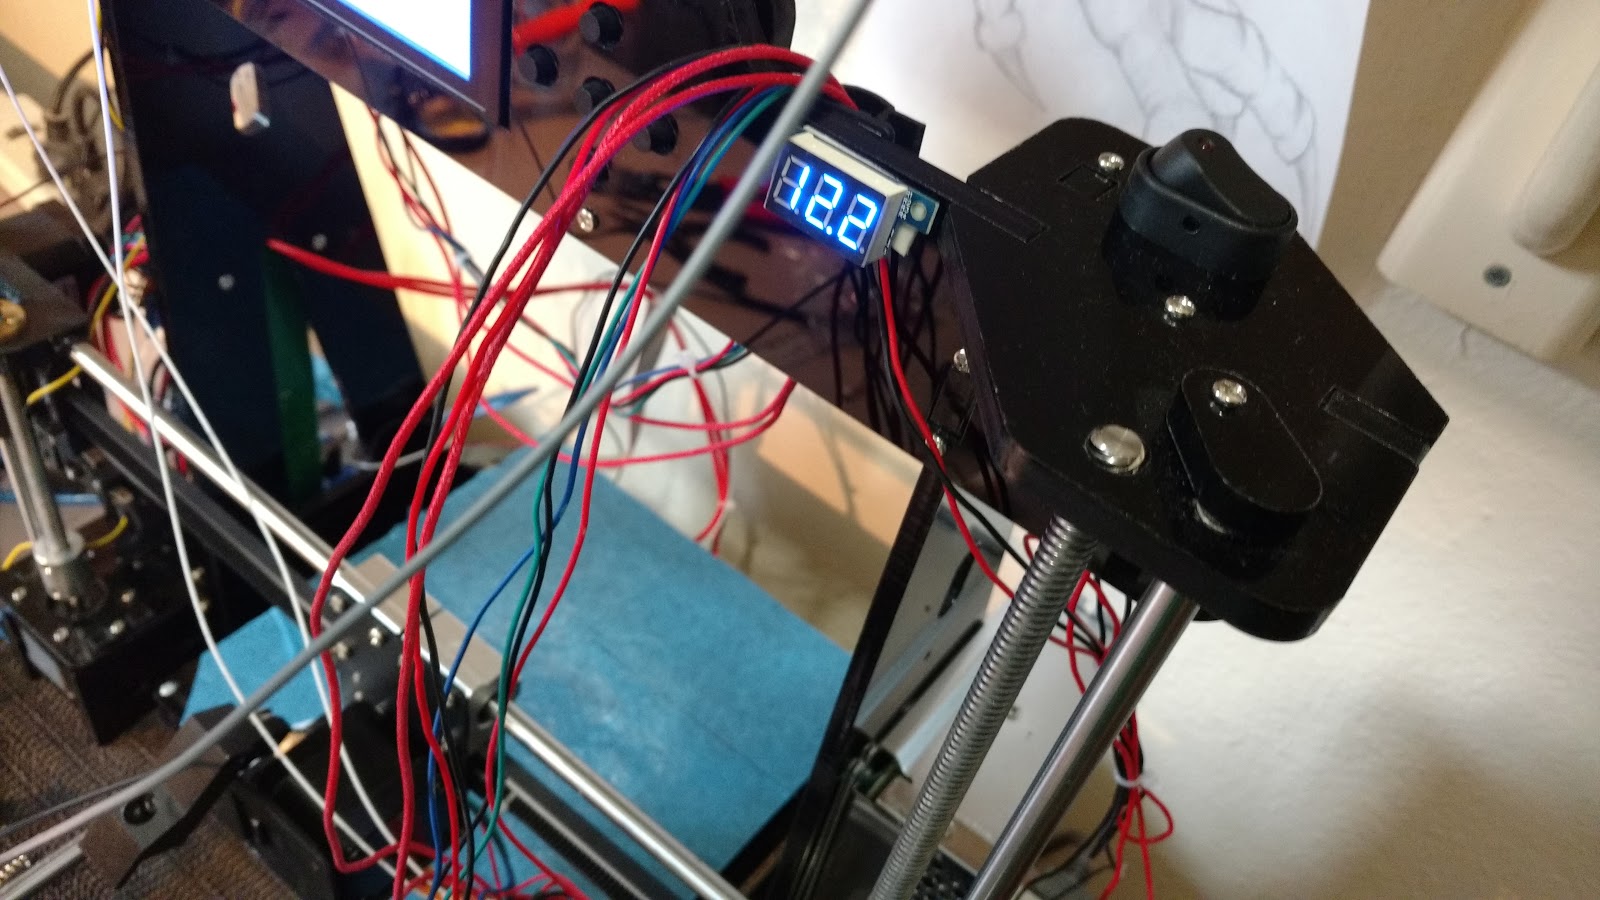
After some time I discovered that it probably wasn't the power supply but
the cartridge heater as now it works well and at 12v as you can see
in the next picture where I've added a volt meter.
Prior to finding the solution the volt meter read 14.9v.
Here I am making upgrades to the printer I put a switch to turn off a led light
I fitted to the machine.


Here I added a flashair wifi sd card in the sd slot which is an extension I
bought so I wasn't reaching around the back of the machine to swap
out the sd cards all the time.
The Flashair should allow me to load files directly to the printer from my
laptop while I get my Raspberry pi loaded with Octopi and debugged

At the right hand side of the picture is a grey box where I added an
illuminated switch and a pc type of power plug so the printer wasn't
wired directly to the power cord.
I have also mounted the printer onto some 16mm mdf so the printer
can be moved around by the base and not the printer itself, which could
put the levelling out. Under the mdf I have some stick on soft plastic feet
to help move it around and possibly absorb some of the vibration.

Here I've test printed Fallout 4's Vault boy in pla plastic.
I'm still dialling in the settings.

I have only printed a few small things in abs as getting it to stick to the
blue painters tape is is a job in itself.
I'm going to try some spay adhesive tomorrow.

Here I've 3d Printed Angus' camera mount when I found the same light
for sale at the local post office.

A much larger Vault Boy in abs
I'm experimenting with abs today. I had some 20mm Kapton
tape so I covered the area where the print will go and then covered
that with some abs juice (a mixture of acetone and abs offcuts)
It is a 14 hour print because of some of the fine settings I'm using
and the print started at around 1.00pm and at 5.30pm it has started
to lift the Kapton tape off the aluminium plate. I had a feeling
something like this might happen so I've ordered some
220 x 220 x 4mm Borosilicate Glass to clip to the hot bed so
I can just use abs juice on the glass.

the print at the half way point

tadaaaa

Mmmm quite a bit of wavy lines possible printing too fast still

Not too bad though as I have very little experience with just how the
print is supposed to turn out anyway :-)

No comments:
Post a Comment